Installing Laravel on Linux Shared Hosting via Softaculous
Please note that while you can install Laravel through Softaculous on a shared hosting plan, some Laravel functionalities may be limited due to restricted or no SSH access. Below, we’ll outline the steps for installing Laravel through Softaculous.
Step 1: Login to cPanel

Step 2: Under Software Section, go to Softaculous Apps Installer
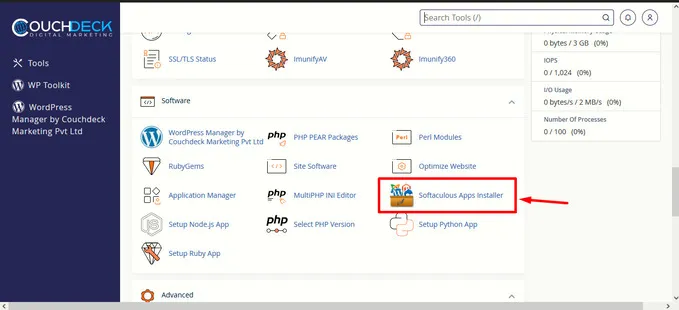
Step 3: Type Laravel in the search bar and click Install on the next page.

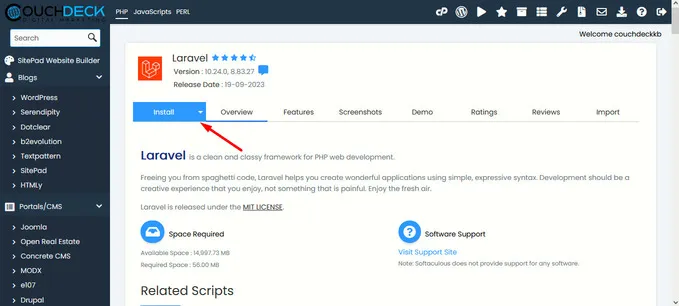
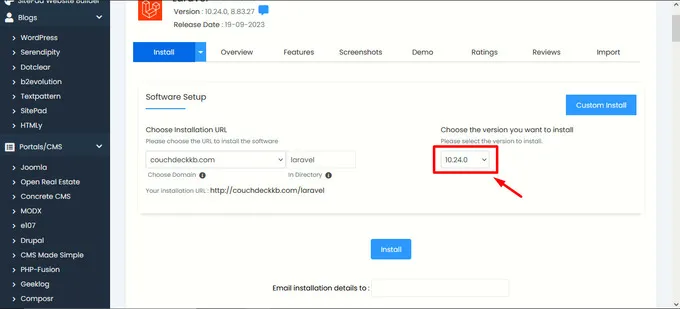
Step 4: Now click on Quick Install

Step 5: Specify the directory where you would like to install the application
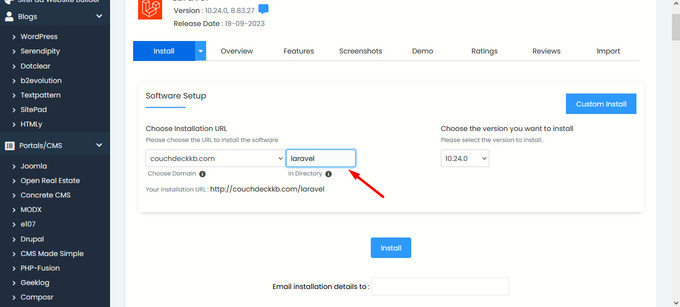
Step 6: Now click on Install

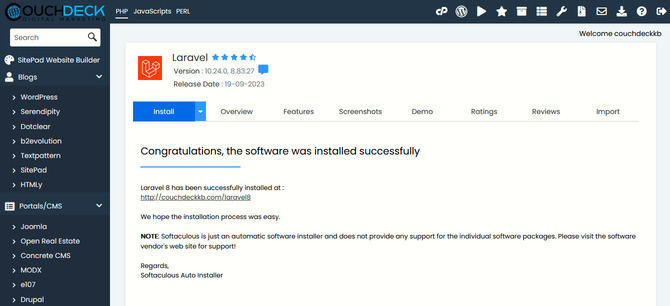
Step 7: If this window pops up you have successfully installed Laravel.
Deploying Your Laravel 5 Application on Shared Hosting
After you’ve finished building your Laravel 5.x application locally and have compressed it into a .zip file, follow these steps to deploy it on shared hosting:
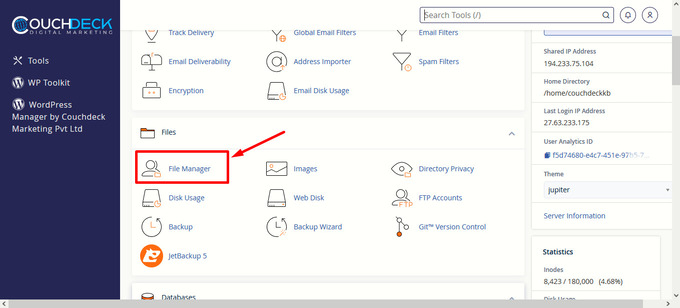
Step 1: Open your cPanel and go to Files ➝ File Manager
Step 2: Click on the public_html folder on the left sidebar
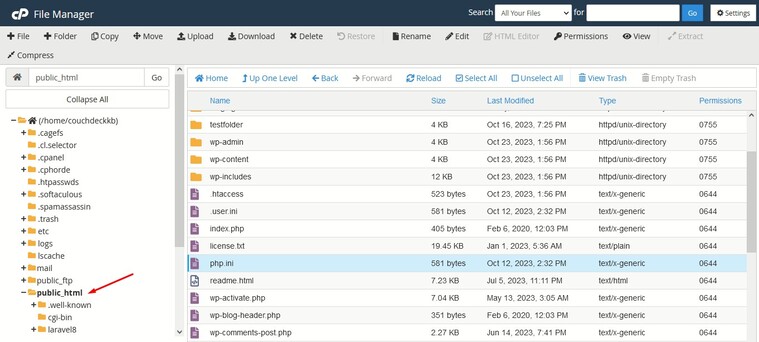
Step 3: You can see the laravel application has been installed in the public_html directory. In laravel8 8 represents the version of laravel that was installed. This number might be different if you’re using a different version.

Step 4: Click on the laravel folder and look for a folder named as public.
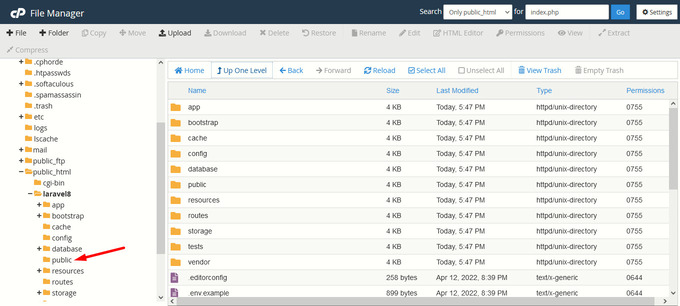
Step 5: Inside the public folder look for a file named as index.php
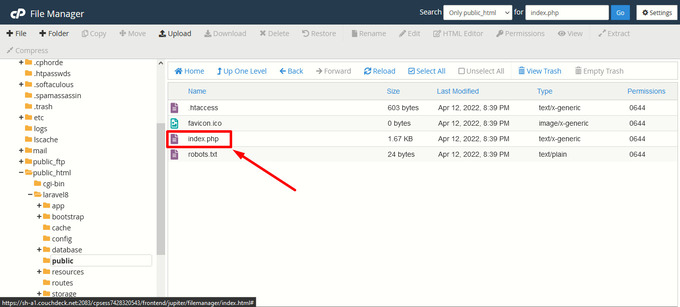
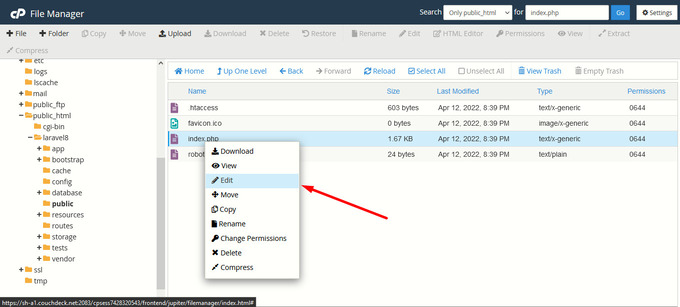
Step 6: Right-click on it and click Edit
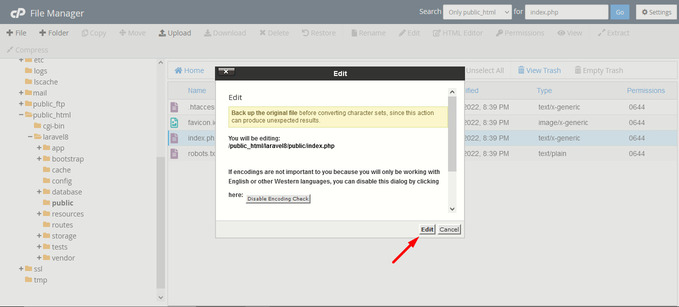
Step 7: If you don’t want to select any Character Encoding option, just click on the Edit button on the window that pops up.
Step 8: Search for these two lines in your file.

Step 9: Modify these two lines as shown below
require __DIR__.'/../bootstrap/autoload.php'; to:
require __DIR__.'/../laravel8/bootstrap/autoload.php'; and
$app = require_once __DIR__.'/../bootstrap/app.php'; to:
$app = require_once __DIR__.'/../laravel8/bootstrap/app.php';Please adjust the path according to your project’s folder name and version.
Ensure that your “.htaccess” file retains its default configuration unless you are familiar with specific changes. The default configuration is as follows:
<IfModule mod_rewrite.c>

<IfModule mod_negotiation.c>

     Options -MultiViews -Indexes

</IfModule>

RewriteEngine On #

Handle Authorization

Header RewriteCond %{HTTP:Authorization} .

RewriteRule .* - [E=HTTP_AUTHORIZATION:%{HTTP:Authorization}]

# Redirect Trailing Slashes If Not A Folder...

RewriteCond %{REQUEST_FILENAME} !-d RewriteCond %{REQUEST_URI} (.+)/$

RewriteRule ^ %1 [L,R=301] # Send Requests To Front Controller...

RewriteCond %{REQUEST_FILENAME} !-d

RewriteCond %{REQUEST_FILENAME} !-f

RewriteRule ^ index.php [L] </IfModule>
Step 10: After completing these steps, your website may throw a database error as you haven’t migrated your database yet.
Restoring Your Database
If Models are running on your application, you will have to migrate tables to the database. You have two alternatives:
MySQL
To use MySQL, start by creating a new database. Next, open the .env file and update your database information. It should look like this:

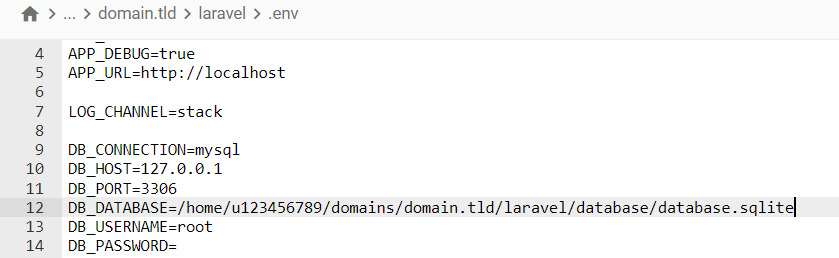
SQLITE
If you want to use SQLITE, go to the File Manager, navigate to laravel/database/ and create the database.sqlite file. Next, open the laravel/.env file and update your database information. Just copy the path to your root directory and change public_html to laravel/database/database.sqlite. It should look like this:
Migrate the Tables
Once you have created the database with either method, connect to your account via SSH, navigate to your laravel directory, and enter the following command to migrate all the files to a database: php artisan migrate
That’s it, your Laravel 8 website should work now